Connecting your Repository
While Creating a new App
Once the Git host integration is complete, Appflow will create a new repo for your Git host account, construct a new app based on your choice of template and framework and then push the results to the new repo.

Then Appflow will direct you to the App's Overview page. Here you will see important information about your app such as its name, app id, and the URL to the new repo where the code for the app was pushed to.

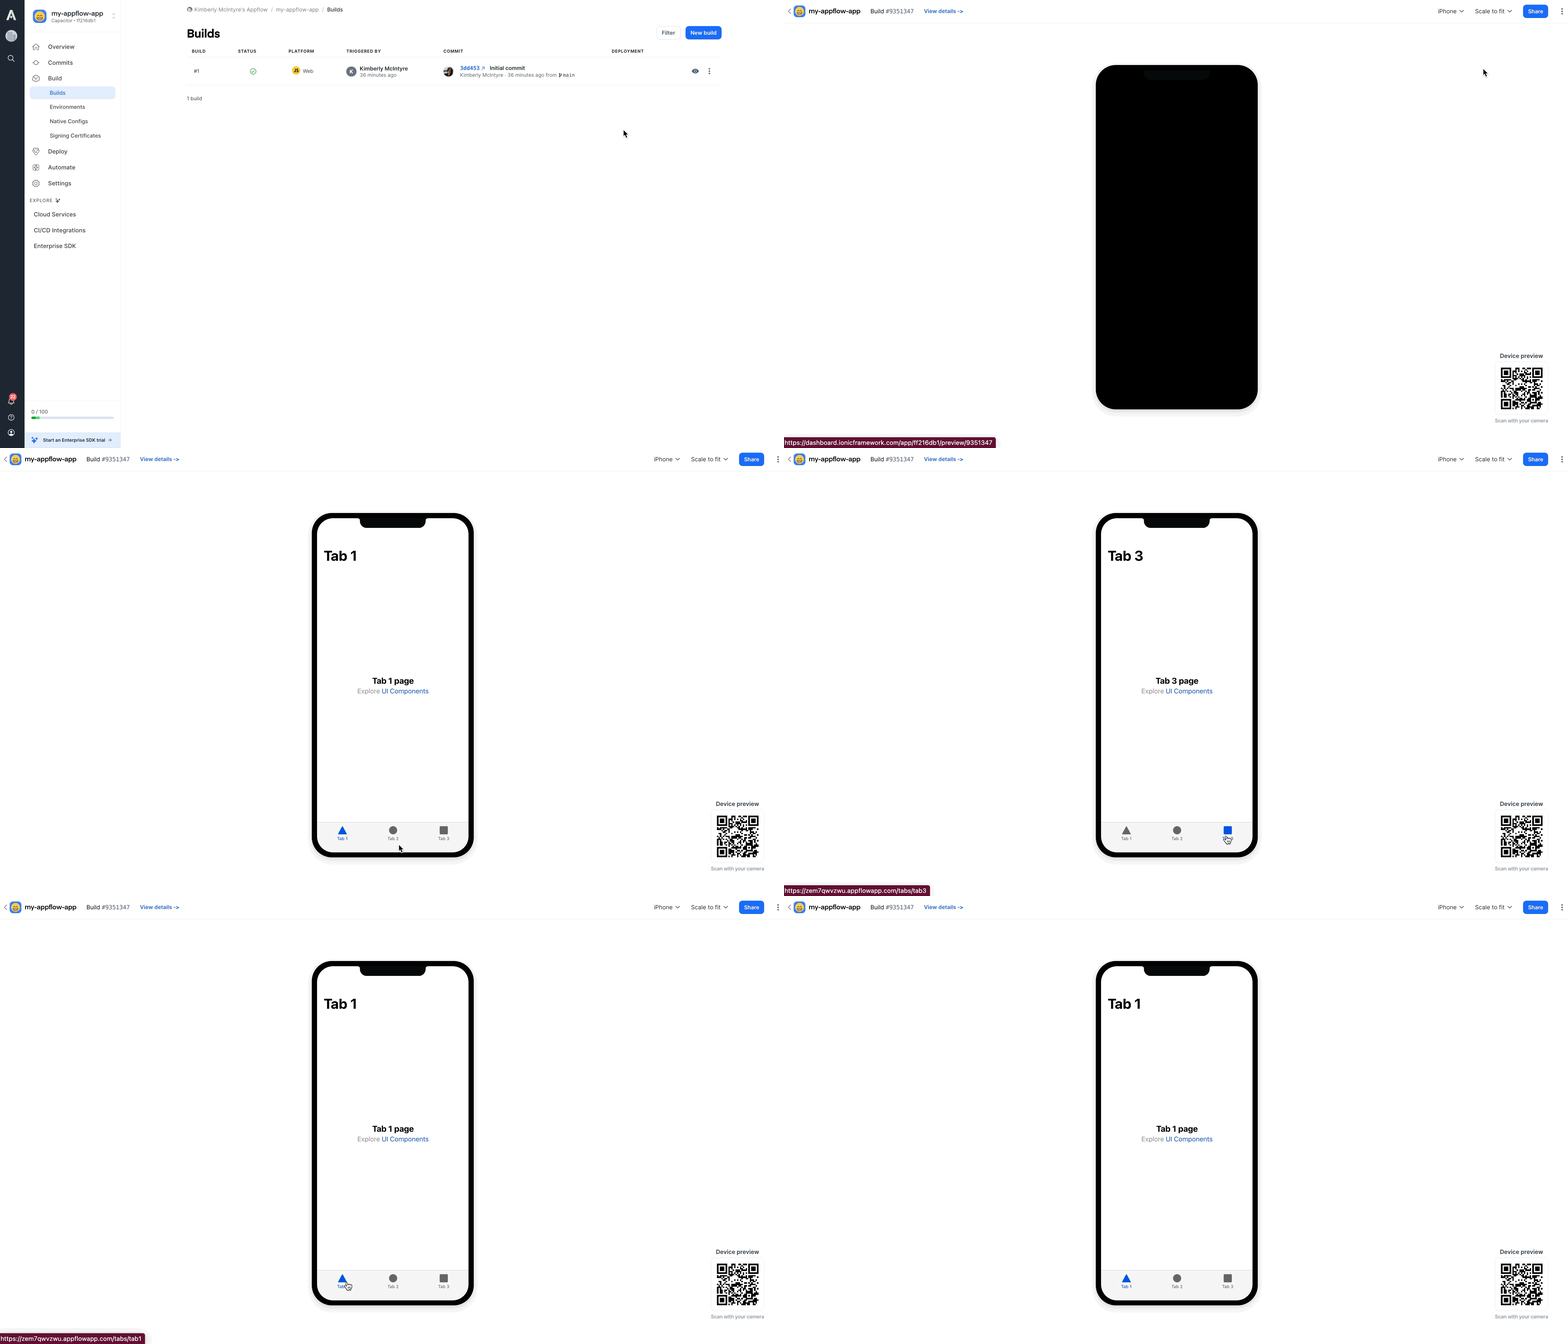
If you then navigate to the Builds page, you will notice that a web build was created for this app.

This build contains a link to the commit that was used to create the build and a temporary web preview for you to demo the app.

While Importing an Existing App
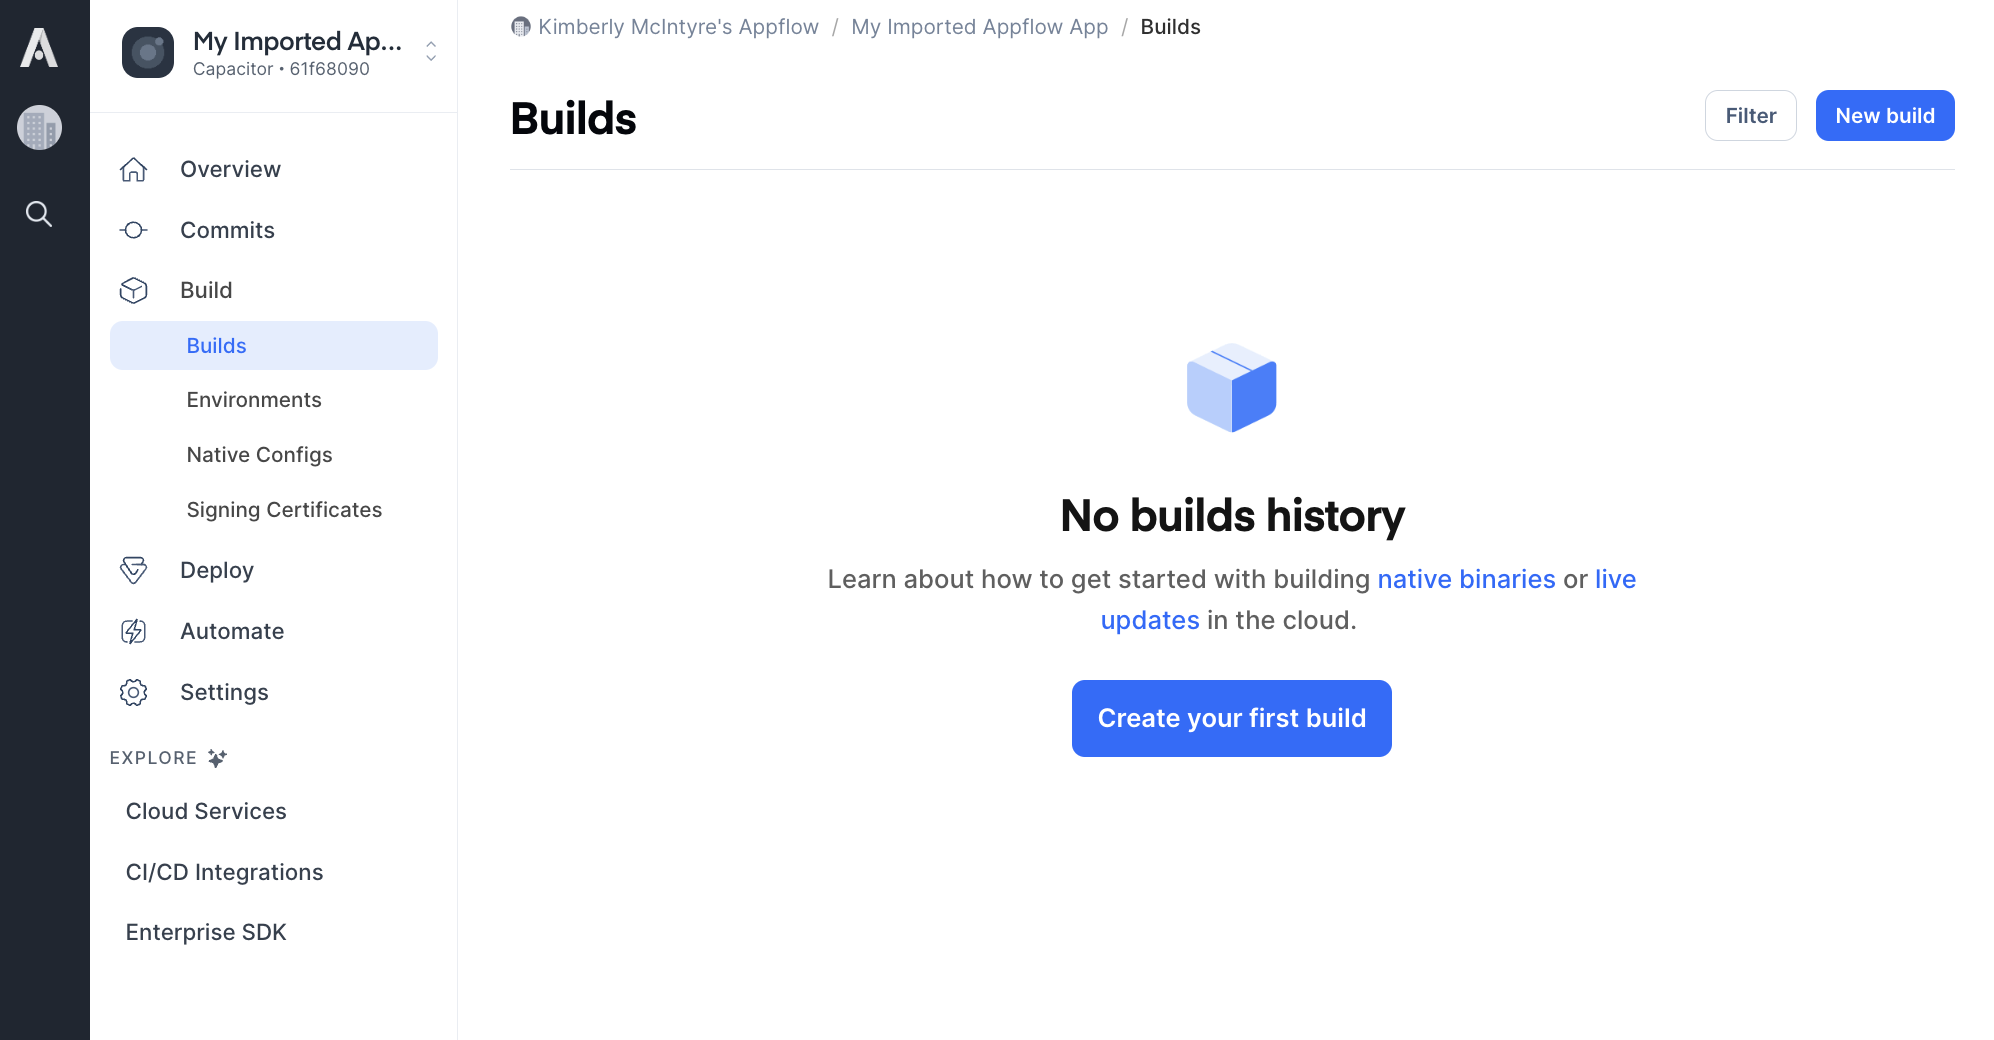
Once Appflow has integrated with your Git host, the page will update to show a list of repos found for this Git host. Selecting a repository from this list will direct you to the Builds page of the newly imported app.

Navigating to the Commits page will reveal up to the last five commits that were pushed to the repo.

Ready for Commits
Now that Appflow has connected to a repo, it will automatically create a webhook on that repo. This webhook will send push events to Appflow to keep track of the commits it can use to create builds for your app. With this, you are now ready to push a commit for Appflow!